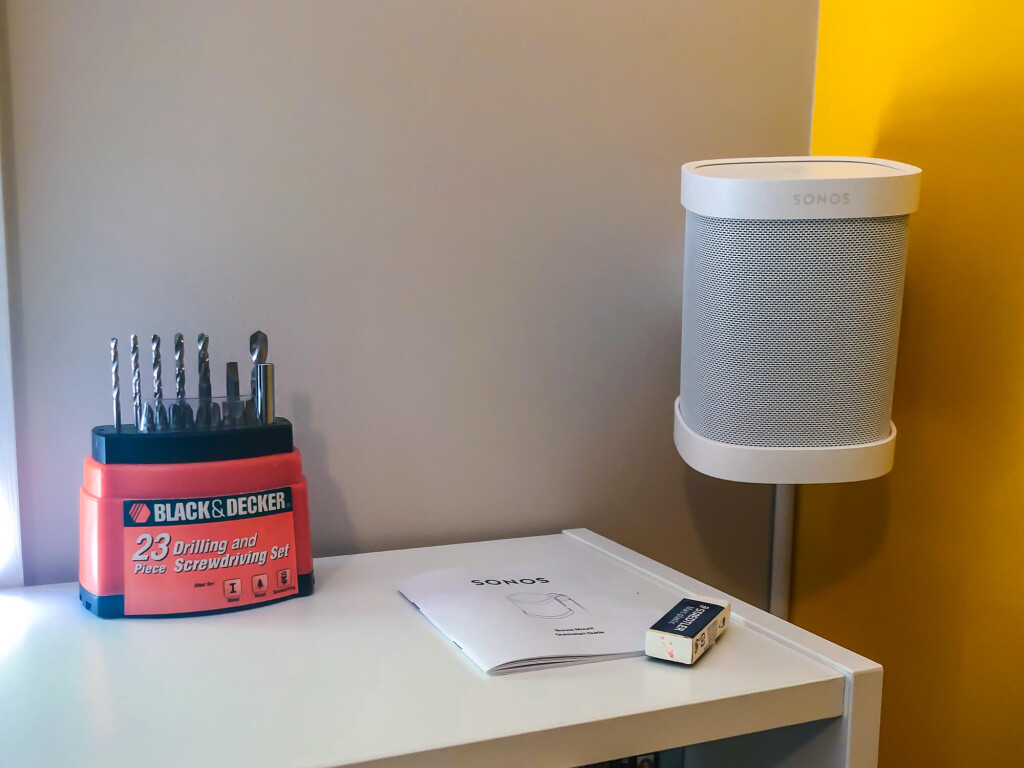
Installing and review of the Sonos Wall Mount with the Sonos One SL
I’m new to the Sonos ecosystem, and after setting up the Sonos Arc and Sub combination, I wanted more, so splurged on a pair of One SL speakers for surrounds. The room whether they’re set up doesn’t have the floor space for the footprint of a stand, so decided to go for wall mounts.
On the Sonos website is a “Sonos Wall Mount”, but besides information on this page, I couldn’t find any further detail (or reviews) online. Googling around, there are plenty of results for Flexson and Sanus – but everything seemed to have some sort of compromise: from cost to ill-fit (and a rattle at certain frequencies). After having a chat with the Sales team at Sonos, who reminded me of their incredibly generous returns policy, I decided to try the Sonos Wall Mount pair.
Ordered on Monday from Sonos Australia, and impressively delivered the next day (which is also a public holiday), you definitely can’t fault the speed and responsiveness of the Sonos team. This makes me, as a consumer, very happy.
The installation process was very straight forward – after, of course, measuring everything twice (then twice again) to ensure everything was in the right spot.
To install these with a plasterboard wall like mine, you’ll need:
Sonos Wall Mount (pretty obvious, hey)
Philips head screwdriver
Drill with an 8mm drill bit
Pencil
Spirit level and tape measure (if you’re pedantic like me)
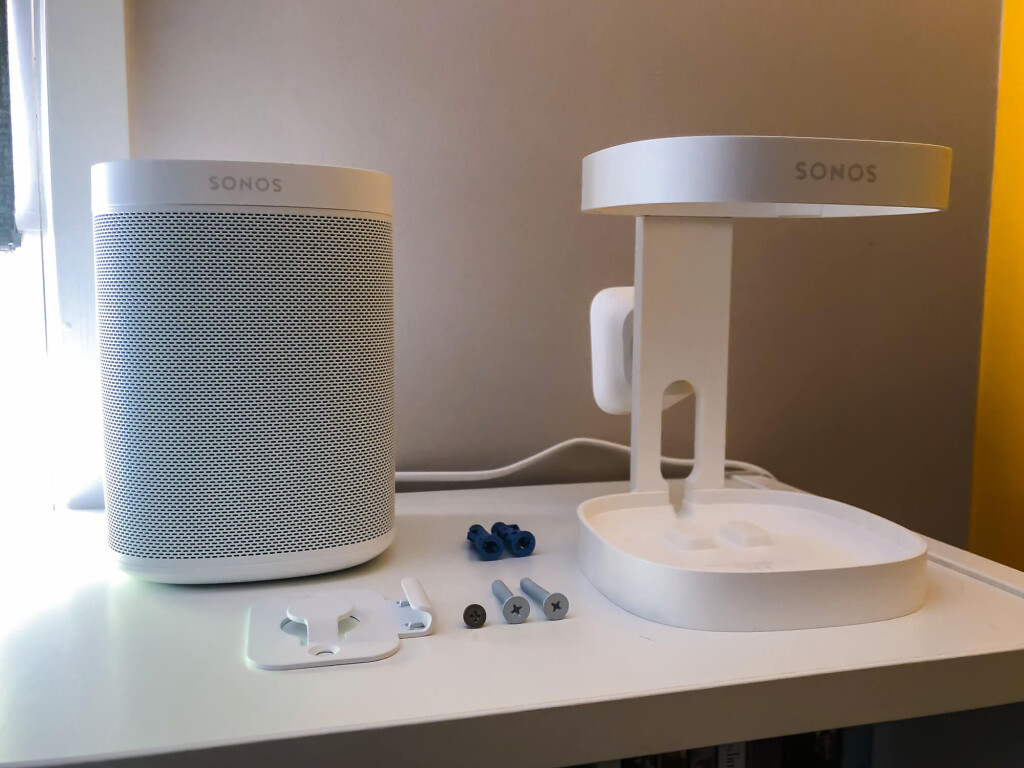
The Sonos Wall mount kit includes all the fixtures you’ll need including a pair of wall plugs per mount, a pair of screws, and a screw for the top cap of the mount.
The manual includes all the details for different wall types too.
After unboxing the mounts, the first step is to install the speaker in to the mount itself. The power cable fits beautifully through the rear of the mount, and is ready for the speaker to sit on the plug and feet.
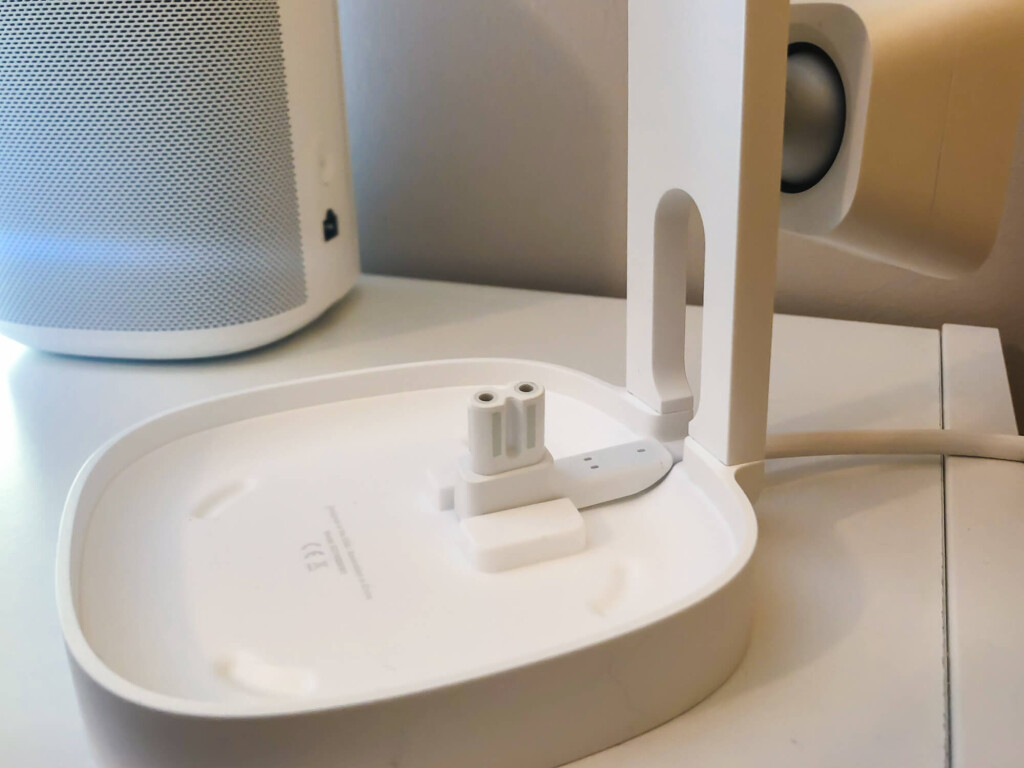
The top cap slides over the top of the rear of the mount, and is held in place with a single screw. The construction feels robust, but also was concerning of how heavy the speakers are to be mounted on such a small plug. But that’s my insecurity more than anything.
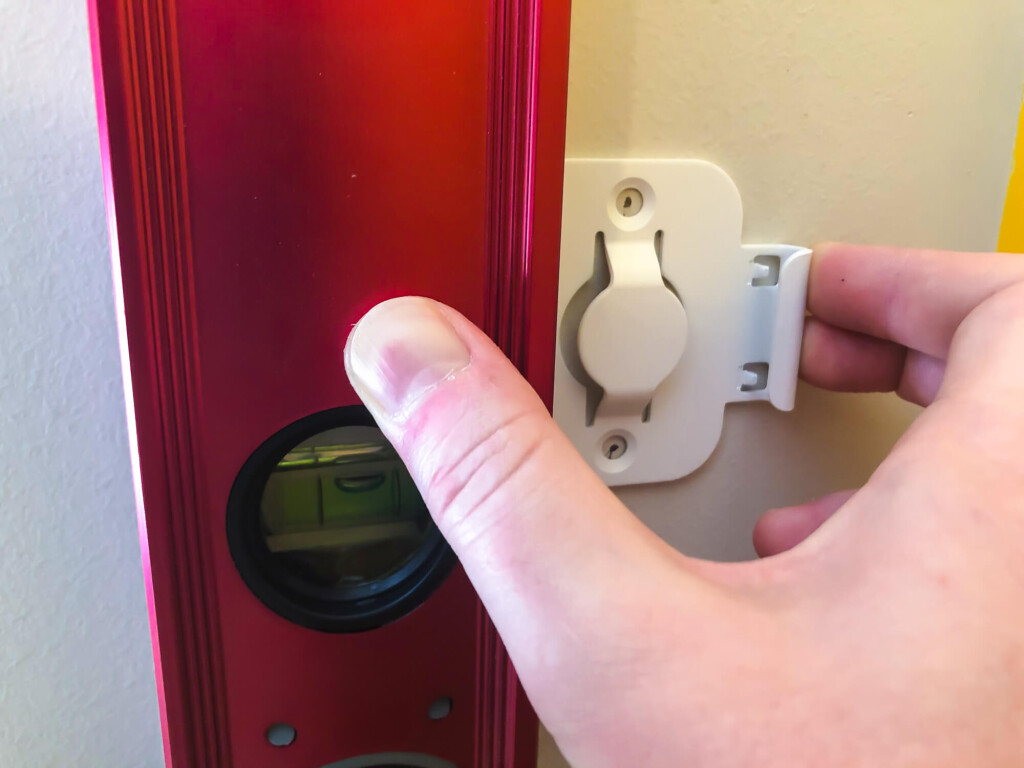
Using a spirit level, place the mount against the wall and mark where you want to be drilling your holes. Given you’ll be attacking your wall with an 8mm drill bit, you do want to make sure they’re in the right spot. Measure twice, and drill once, right?
Using an 8mm drill bit, get stuck in to your wall.

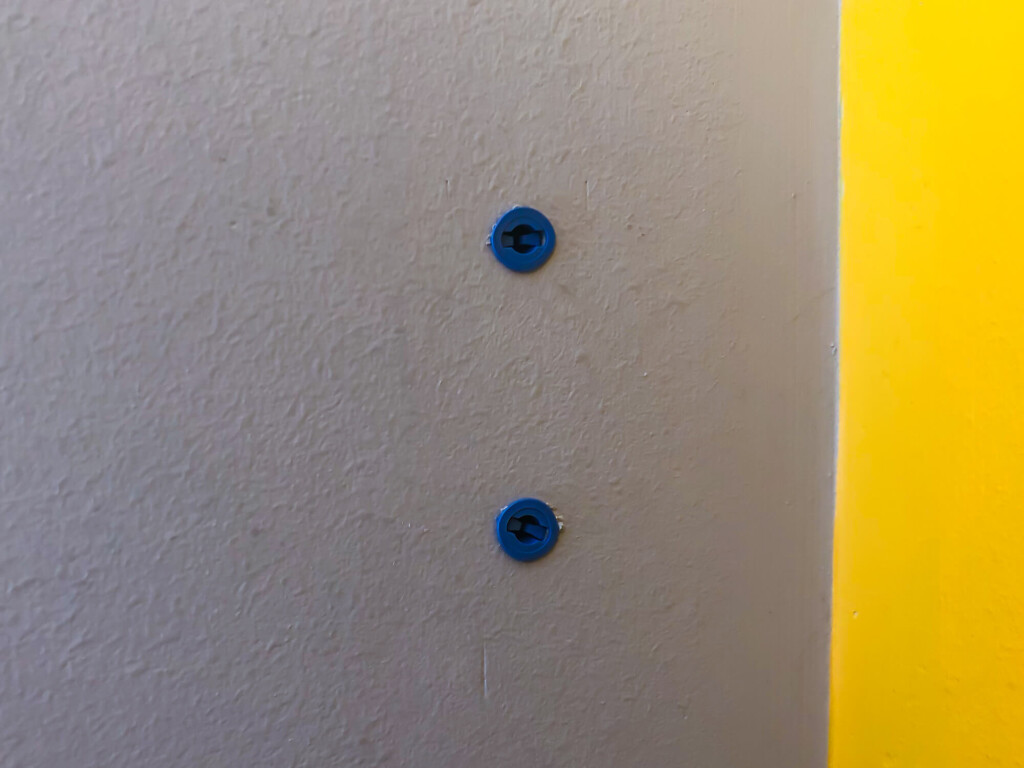
With your holes in place, insert the two blue plastic wall plugs, and ease in to place so they’re flush with the wall.
Using your screwdriver, screw on the bracket.
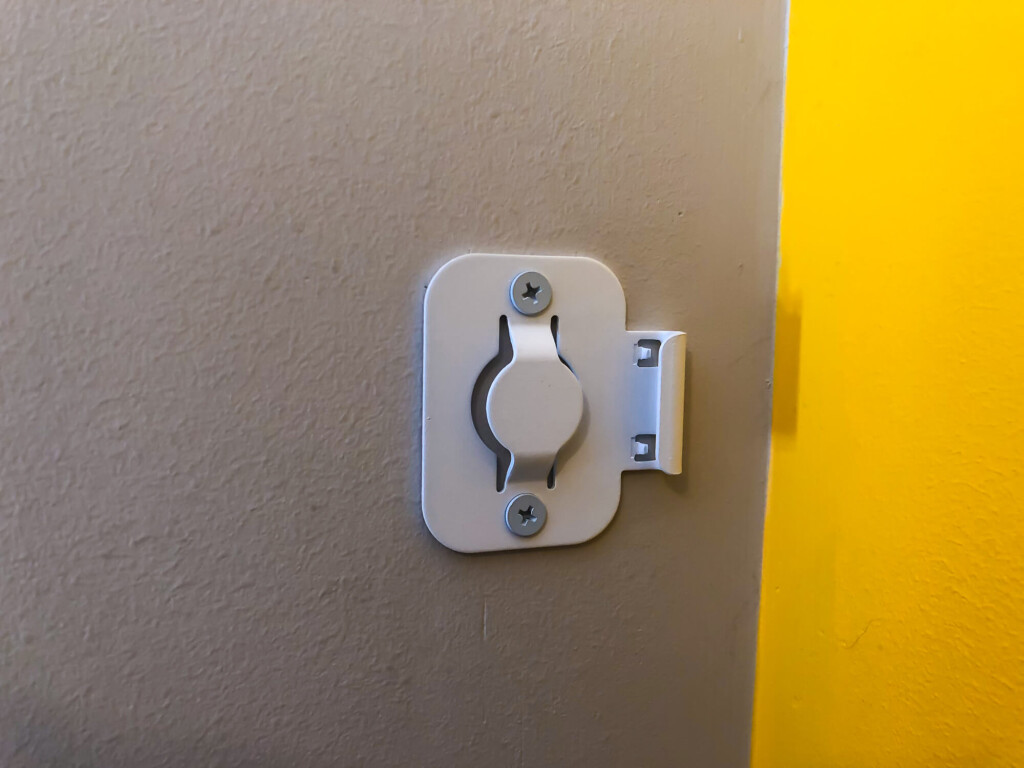
Take note that the bracket must sit vertically – but you can choose which side the cable hook sits on. This is because the speaker then slides effortlessly on to the mount (as it not actually held in place when there). If your mount is horizontal, for example, it would just slip off. But note too that the mount is incredibly flexible with its positioning so you can pivot and rotate your speaker to a horizontal orientation with a vertical wall mount.
When mounting the speaker, route the cable up and then down the cable hook – I didn’t jam the cable in, just let it slide in but still be free to move (and not damage the cable). When the speaker is in place, the mount itself helps hold the cable in place too, so it doesn’t need to be snug.
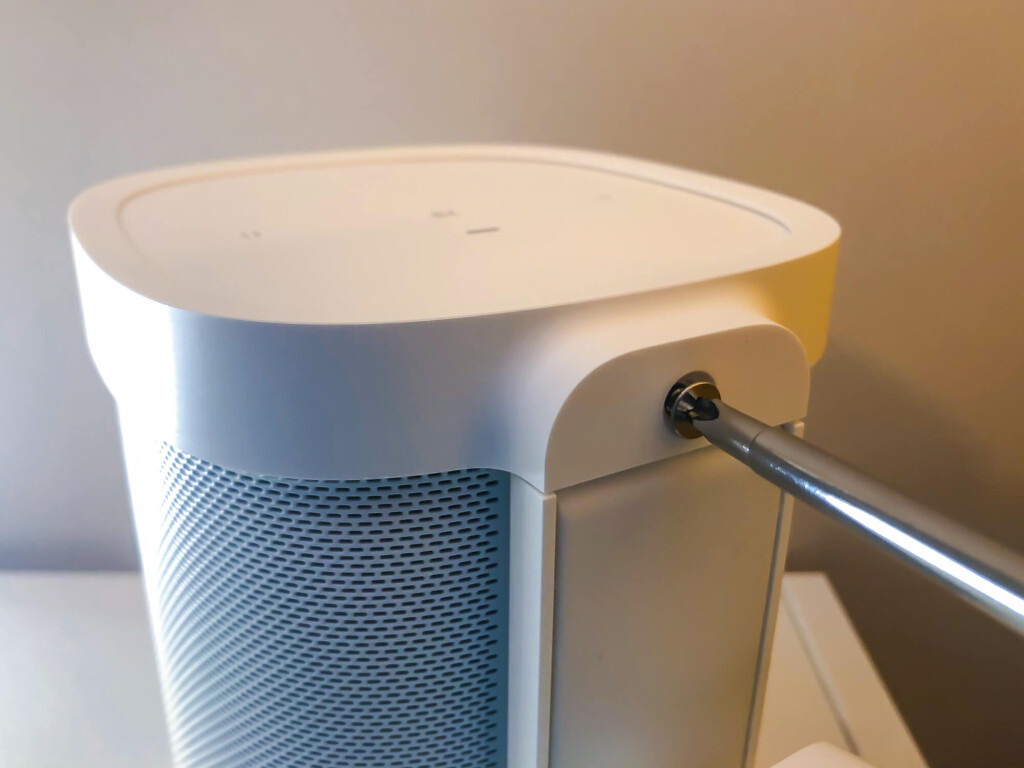
The collar of the mount can rotate 90 degrees, unlocking the pivot head. You can then rotate, pivot and angle to best suit your seating position and location. Then just turn the collar 90 degrees again (so it is sitting flush) and you’re all set.
I also had a cable conduit from Bunnings to help keep the cable neat and tidy (rather than just dangling).
This is my first experience wall mounting speakers – and the installation process with the Sonos Wall Mount was incredibly simple – drill some holes and screw in place. The most time consuming part was measuring the height on opposite walls to ensure they’re even.
What I like:
AUD $139 for a pair - well-priced for the ecosystem
Fast and free courier delivery (at least in Australia)
Colour-matched to your One speakers (black or white)
Easy to install, and flexible in speaker positioning
Minimalist appearance yet feels incredibly solid - the grip on the head is insane
What could be better:
The top collar that holds the speaker in place, while well branded and snug, also feels like it could be more robust. I don’t fear it will fall off, but doesn’t feel as solid as the One SL’s construction
The speaker just sits on top of the wall mount – and you can effortlessly lift it off. A securing screw would be a welcome addition to help hold it in place
That’s all for now… I’m off to the couch to give my new install a test run.